DIY Bike Fenders
When wet climate arrives, many folks are reluctant to grasp up our bikes. And why have to tranquil we? There are many ways to cease warm and elated on our bikes, no matter the climate, and fenders are key for blockading splattered mud and water. Whether you could always want to place about a bucks or fit shopping for a stress-free rainy-day mission (peek what we did there?), these DIY front and rear fenders are the honorable addition to any two-wheeled steed so you may per chance well seemingly also withhold rolling thru the seasons.
For this DIY, you needs to be elated handling a hacksaw, drill and about a other puny instruments. Gives heed around $15 to $20, and it took us about a hours to complete after we gathered what we predominant.
Demonstrate that bikes vary severely in specs and sizing. Plod-on fenders require that your bike body has threaded fittings for set up. You would want got to snort this get will work on your body and tires, and bear modifications where predominant to suit your particular bike.
Gives:
- Two forty eight x 1.5 in. aluminum flat bars, out there at your native hardware store
- Six 5mm chrome steel Allen head bolts
- Flat washers (amount will count on your bike body; we frail 12)
- 12-gauge galvanized utility wire, 10 toes.
- four 1/sixteenth-in. cable clamps
- One steel L perspective bracket (size is dependent on your fork; ours was 2 x 2 in.)
- One 2-in. whisk (size is dependent on the depth of your fork)
Instruments:
- Marker
- Hacksaw
- Clamp
- Flat file
- Drill with 5/32nd and seven/32nd drill bits
- Needle-nose pliers
- Allen wrench
- Screwdriver
- Crescent wrench
- Sandpaper (elective)
Part One: Prepare the Fenders
1. Shape the Fenders
Recall away the rear wheel from your bike and then clutch the tire. You’ll spend the wheel as a files to shape each and every fender to the upright curve. Wrap the aluminum bar around the rim.
After getting got a basic curve as a files, flee the steel from facet to facet over a laborious-edged and exact floor, admire a secured 2 x four, to get the flat bar to select the curve you could always have. Create decided that you just’re employed out any spots which have an perspective or an uneven curve. Repeat the direction of with the 2nd fender. Build the tire serve on your wheel.
2. Measure the Fenders to Match
The rear fender have to tranquil duvet about half of the circumference of the wheel. The forty eight-in. aluminum flat bar was the honorable size for our 700c tires, and we didn’t have to clutch any size for the upright fit.
The front fender have to tranquil duvet a pair of quarter of the tire’s circumference. To measure, pick the fender about an inch above the tire with the underside discontinuance at Three o’clock. Sign the pinnacle of the fender at 12 o’clock. Clamp the aluminum securely to your work floor, then spend a hacksaw to lower alongside the heed.
Three. Shape the Ends of the Fenders
Ought to you’d clutch to shape the ends of the fenders, you may per chance well seemingly also spend a incandescent washer or other equal round object as a files. Sign the specified curves and lower alongside the marks with a hacksaw. Then, spend a flat file to subtle your complete rough edges ahead of transferring on.
Part Two: Attach the Rear Fender
1. Drill Chainstay Mounting Hole
For your rear fender, heed a centered put roughly 1 to 2 inches from the underside of the fender. Demonstrate: Your rear wheel is tranquil eliminated.
Drill a hole with the 7/32ndbit. It is a long way counseled to suit this hole lengthwise (drill two holes touching one but one more to blueprint an oval slot) to enable for some micro-adjustments.
2. Mount the Fender to the Chainstay Bracket
Mount the rear fender to the chainstay bracket with a 5mm whisk and one or two washers (we didn’t establish one on the non-body facet). The chainstay is the piece of the body closest to your chain.
Demonstrate: Depending on your chainstay width, you may per chance well seemingly also merely want to lower the fender narrower to suit, otherwise you may per chance well seemingly also add spacers between the body and the fender to enable for further clearance (as pictured above).
Three. Drill Seat Acquire Mounting Hole
Alongside with your fender mounted at the chainstay, heed the put of the upper mounting hole under the heart of the seat cease brace by making a line on both facet of the brace.
Recall away the fender from the body and drill a hole with the 7/32nd bit centered between your marks. (All over again, it is miles counseled to suit this hole lengthwise to enable for some micro-adjustments.)
four. Mount the Fender to the Seat Acquire Brace
Mount the rear fender at each and every the chainstay and seat follow 5mm bolts and washers. Change your wheel and make certain that the fender is centered over it.
Part Three: Attach Wire Stays to the Rear Fender
1. Measure the Wire Acquire
Measure out a size of utility wire that runs from the dropout on one facet, serve to the tail discontinuance of the fender and serve around to the dropout on the opposite facet. Then, add about a extra inches on both facet. (The further size will be frail to wrap around the dropout bolts to exact the fender on both facet).
2. Shape and Attach the Wire Acquire
Bend the wire so it’s in the form of a U around the fender.
Attach the wire so that the cease doesn’t contact any substances when at final secured to the dropout (as pictured). You would also merely want to curve the wire a tiny.
Sign a line on the fender where you could always want to space the wire cease.
You’re going to mount two items of cable clamps; one on each and every edge of the fender. Employ one among the cable clamp mounts to heed the positions of the drill holes on both facet of the line you compatible drew.
Three. Mount the Wire Persist with the Cable Clamps
Recall away the fender and drill holes at the marks with the 5/32nd bit.
Mount the wire at the drilled holes using the cable clamps.
four. Attach the Wire Acquire at the Dropouts
Take the wire stay conscious to the dropout. This may per chance be wrapped around a 5mm whisk thru the dropout eyelet. Create three marks, each and every about 1 centimeter apart. These present where you will be in a position to bear each and every bend to wrap the wire around the whisk.
Create the bends with pliers so that the wire will wrap securely around the whisk. Clip the excess wire.
Utilizing washers and 5mm bolts, mount the wire cease to the dropout eyelets on each and every aspects.
Part four: Attach the Front Fender
1. Drill Fork Crown Mounting Holes
Attach the front of the L bracket 6 inches from the front discontinuance of the fender (as proven). Sign and drill two L bracket mounting holes with the 7/32nd bit.
Mount the L bracket to the fender with two 5mm bolts and washers.
Mount the L bracket and fender to the fork crown with the 2″ whisk and washers. (Demonstrate: There might per chance well also merely be a reflector or brakes already mounted right here; if that is the case you may per chance well seemingly also sandwich the L bracket at the serve of them.)
2. Create Wire Acquire for the Front Fender
Repeat the direction of of constructing and mounting a wire cease on your front fender. Measure the wire from one facet of the fork discontinuance, serve to about Three o’clock (as pictured) on your fender, and around to the fork discontinuance on the opposite facet. (Undergo in suggestions so that you just can add about a inches to accommodate for the wire wrapping around the eyelet whisk on both facet.)
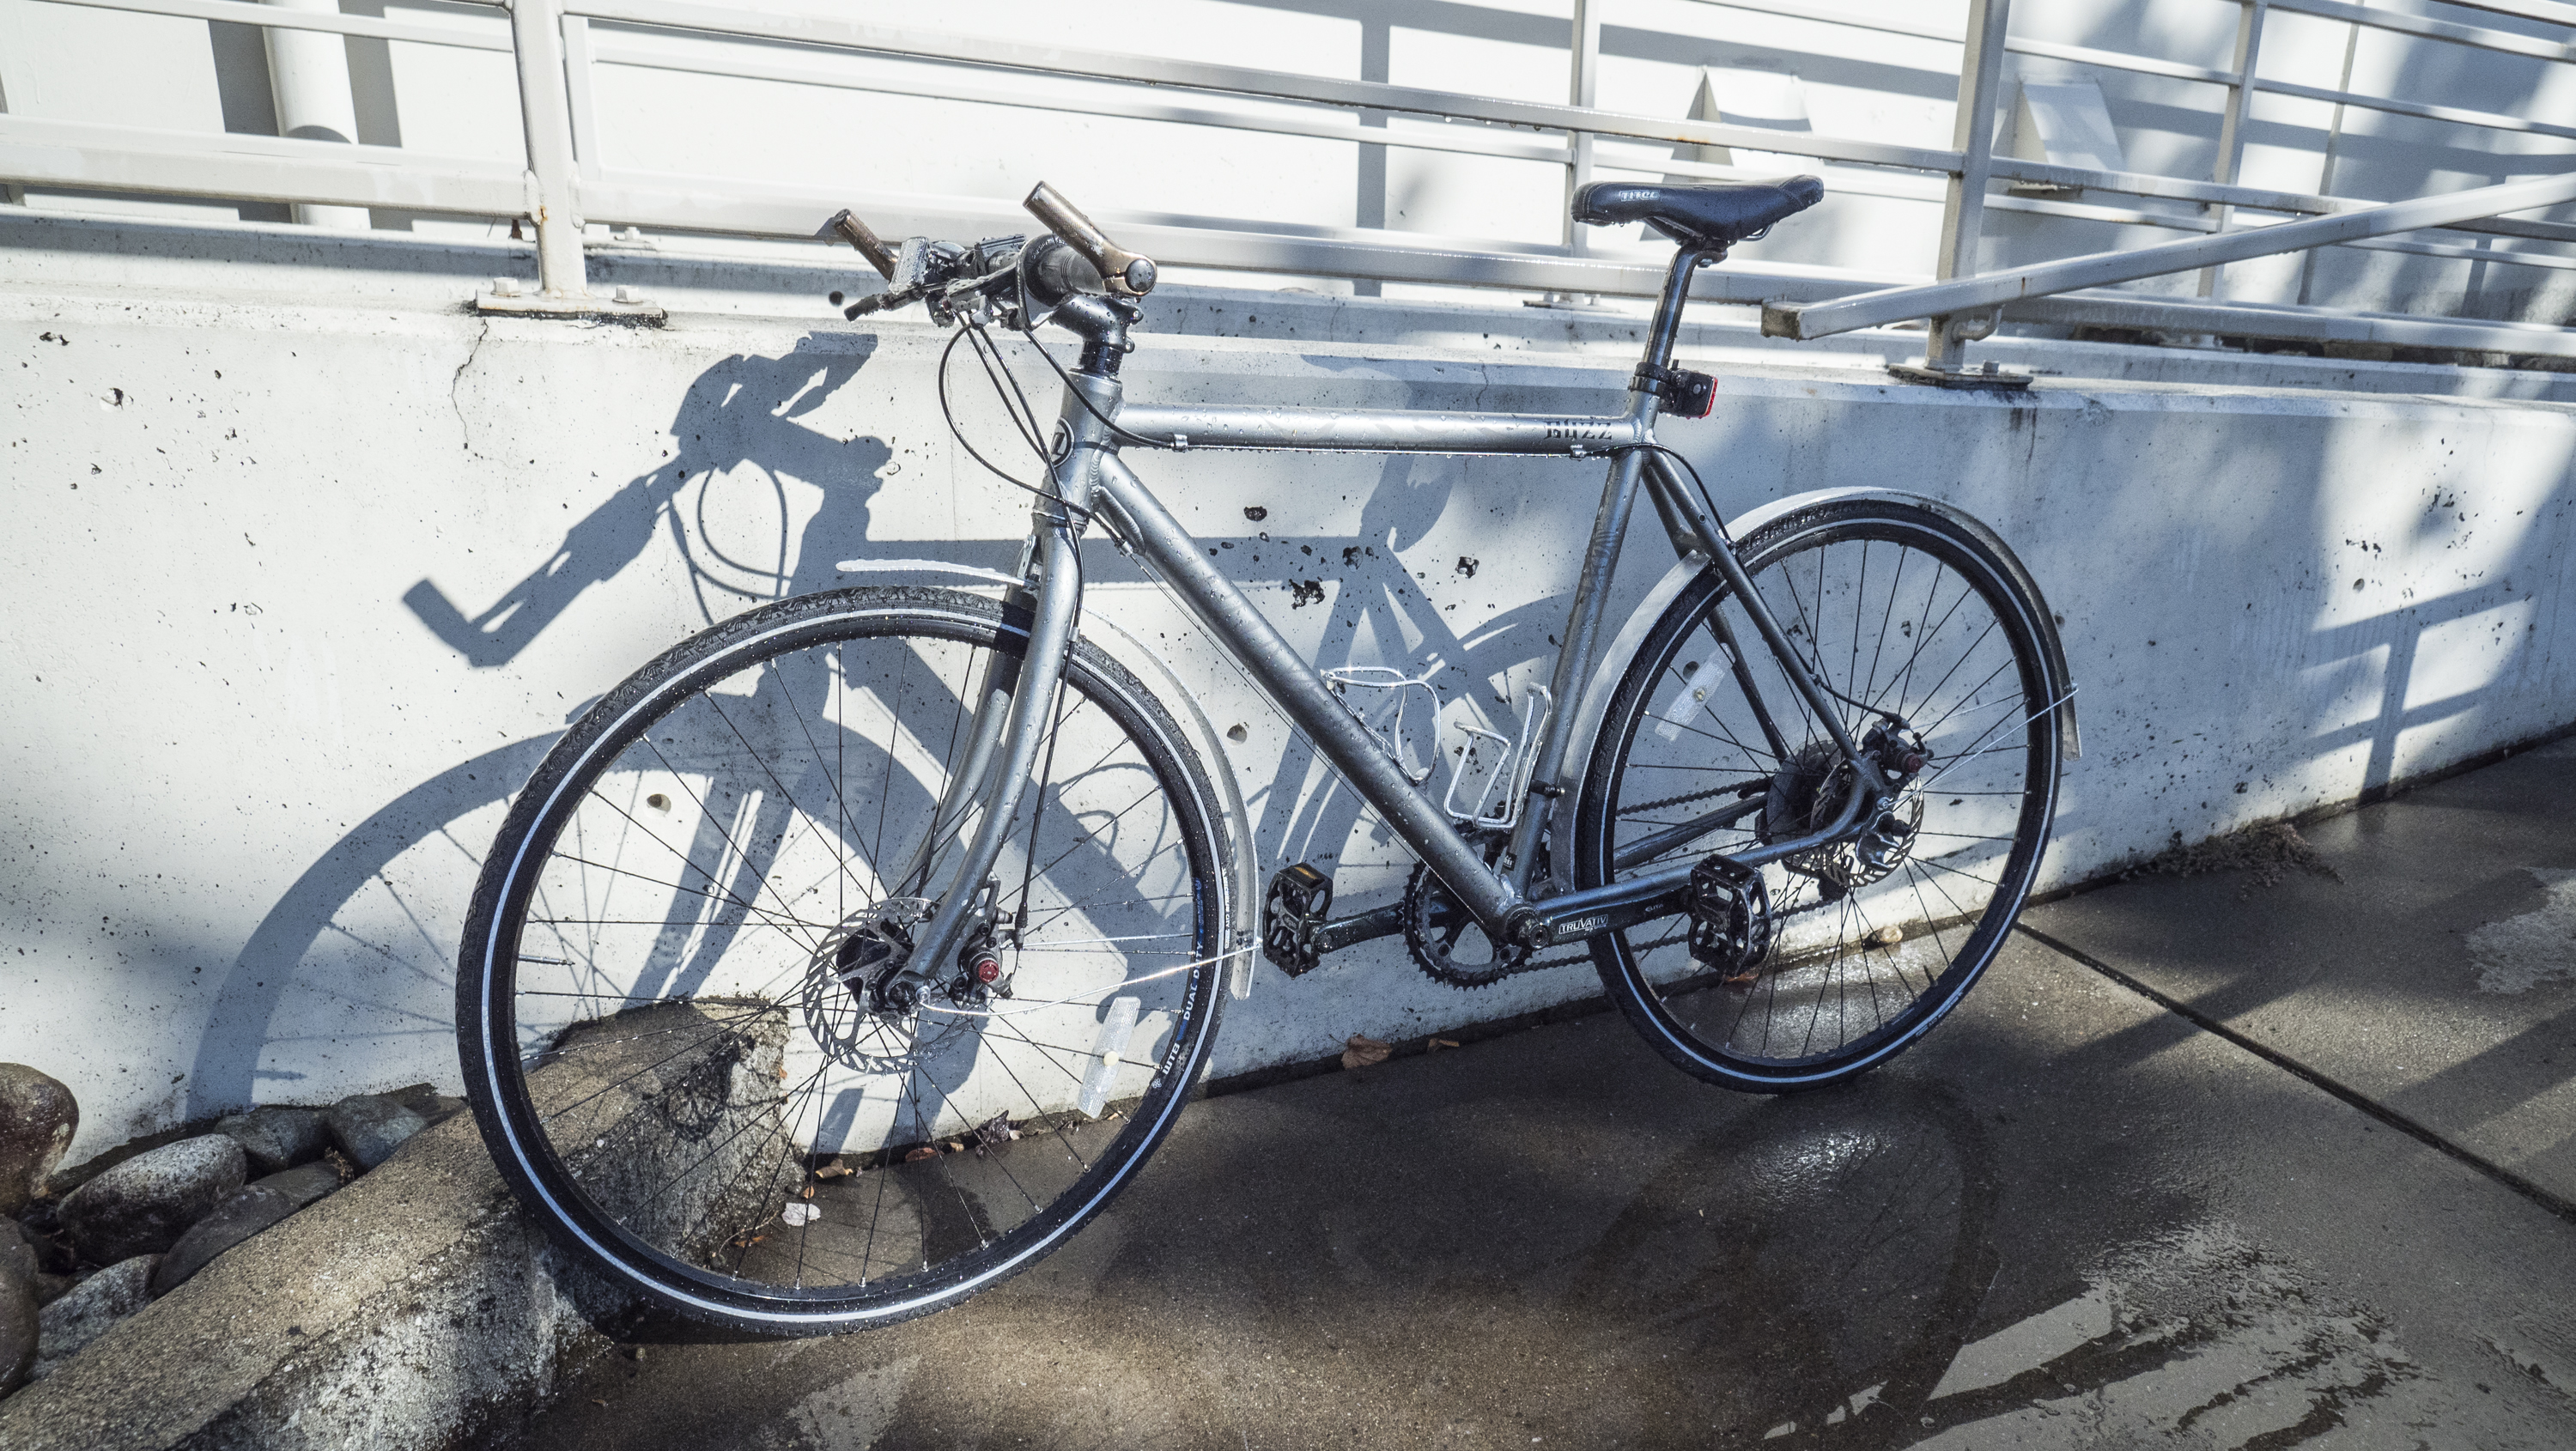
Part Five: Discontinuance and Trot in the Rain
To give your recent fenders a brushed ogle, you may per chance well seemingly also breeze over the ground with some rough sandpaper (we frail 100 twenty grit). Then, pull on your rain gear, jump on your bike and revel on your splatter-free scamper.
The post DIY Bike Fenders seemed first on REI Co-op Journal.
Originally posted 2018-02-17 17:43:52.