
How to Restore (and then Cook on) Cast Iron
Looking for motivation to clean up that old, rusty Dutch oven? This campfire recipe for classic baked beans ought to do the trick.
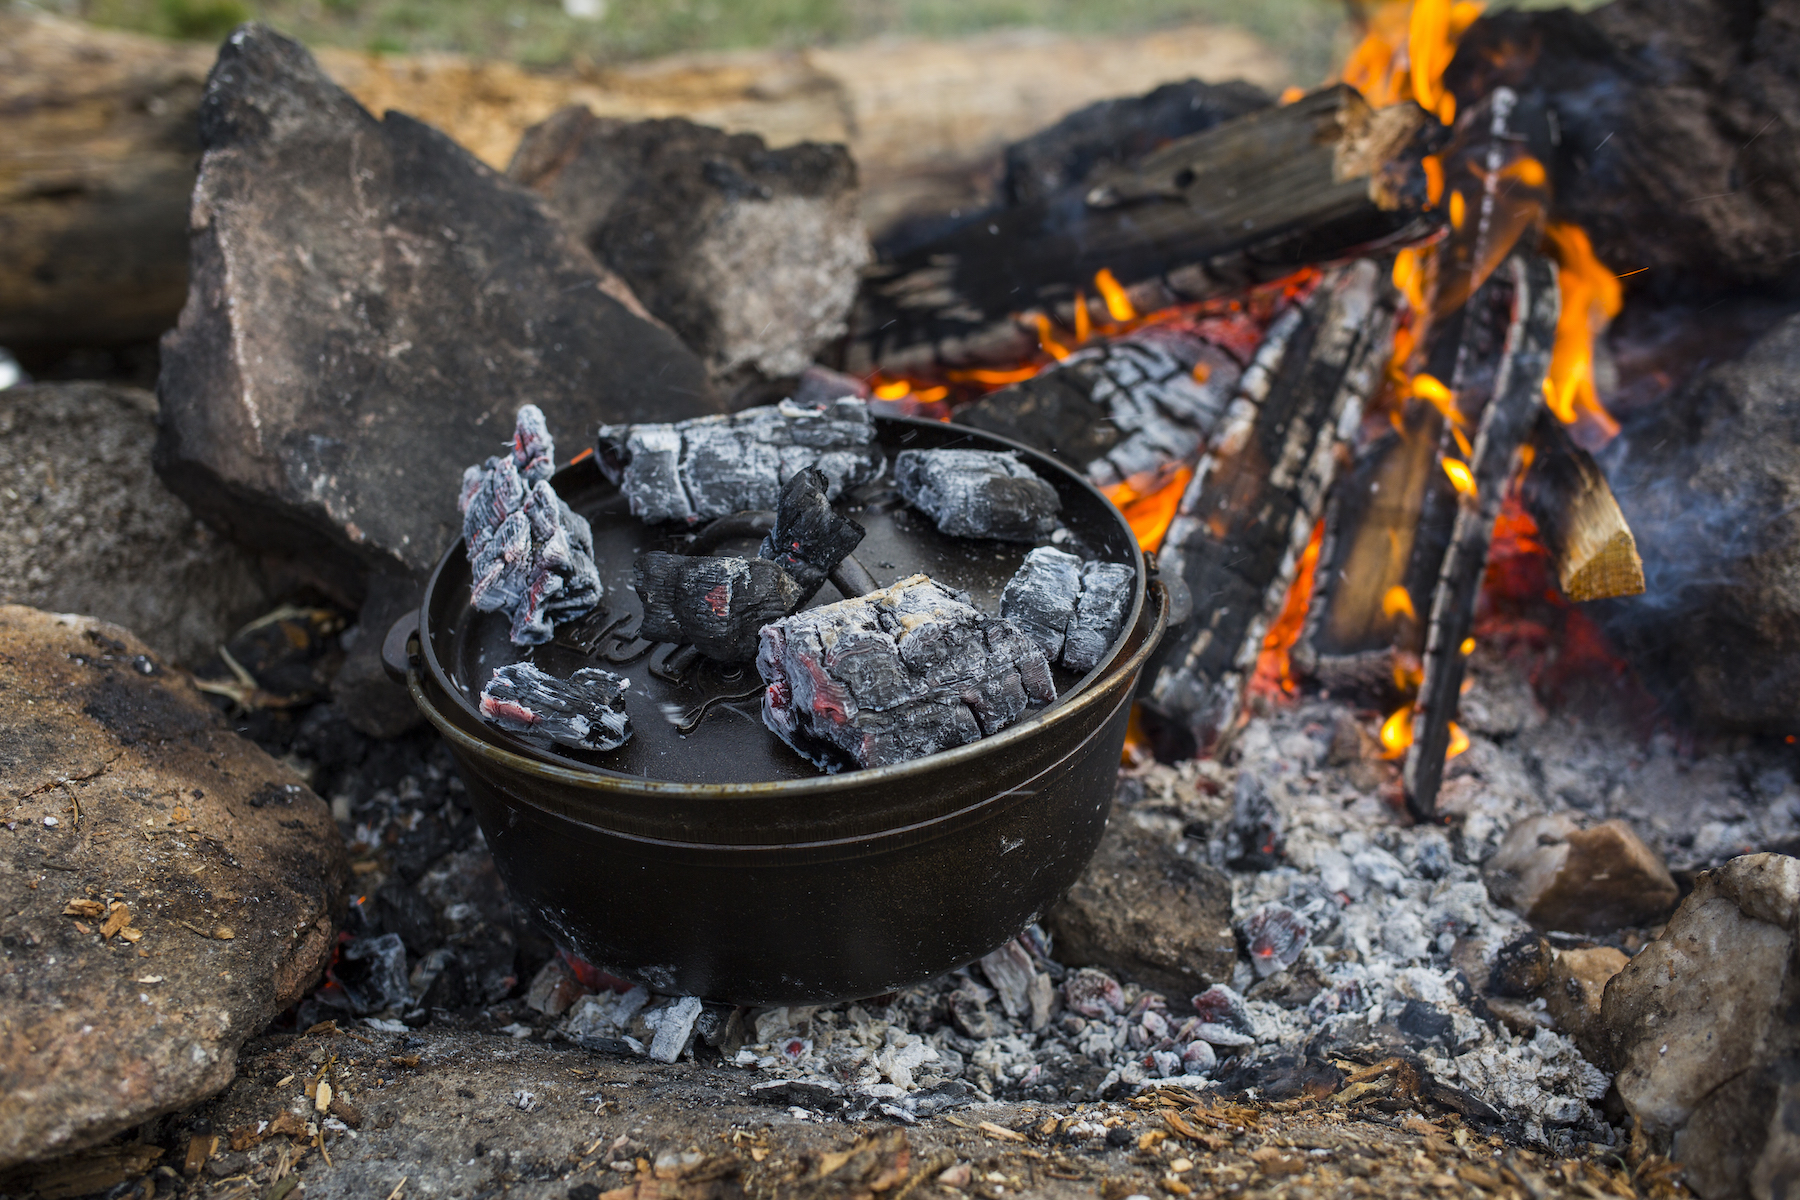
The Dutch oven is the perfect companion for a cookout. The legs beneath it allow you to place a few charcoal briquettes or campfire coals underneath the pot while you cook. And the ridge on the lid allows you to place hot coals on top, creating heat sources both above and below the food, thus making it an “oven.” This means you can cook nearly anything: biscuits, stews, cobblers and depending on the pot’s size, even whole chickens.
Common Dutch Oven Myths
Before learning how to restore a rusty pot, let’s set the record straight. Here are some of the most common myths about cast iron Dutch ovens:
Washing it will ruin the seasoning. A good seasoning on cast iron means the polymers in the oil have bonded with the iron. Some light scrubbing with a little bit of soapy water isn’t enough to strip the seasoning.
Cast iron cooks evenly. Not even remotely. Cook a pancake in a cast iron skillet over an electric stove and you’ll see exactly where the pan is hot. (Hint: It’s shaped like the heating element.) Cast iron is, however, a great conductor of heat. When heated properly, it’ll stay hot.
You can’t cook acidic foods on it. Though iron is a reactive material, a well-seasoned piece should have no problem handling acidic foods, such as tomato sauce.
Restore Your Cast Iron
The following care and restoration instructions apply to any type of cast iron, though here we’re focusing on the holy grail of camp cookware: the Dutch oven.
1. Remove Rust
Your first order of business is to strip the seasoning and eliminate any rust. There are methods abound on how to do this, ranging from using buckets of lye to rigging a car battery to a fish tank. However, I found that using some 60- or 80-grit sandpaper, steel wool, vinegar and good old-fashioned elbow grease will do the job with zero risk of electrocution.
Start with the sandpaper, removing any caked-on residue, rancid oil or whatever else is clinging to the pot. You can even use an orbital sander if you want—basically, you can do no harm.
After the seasoning is stripped, remove whatever rust and residue are left with steel wool and a 50/50 mixture of water and vinegar. Pay attention to the entire piece, not only the cooking surface.
2. Oil Your Pot
When the rust and seasoning have been removed, the metal will be exposed and appear more silver than black. This means you’re down to the bare iron. At this point, you need to work quickly to prevent the iron from oxidizing, (a.k.a. rusting) immediately. Rub oil—flaxseed, though expensive, is best, but corn or canola oil will work fine—all over, paying attention to the nooks and crannies on the outside, handles and underneath.
3. Bake Your Pot
Preheat your oven to 400° and place a rack in the middle. Put a baking sheet on a rack below it to catch oil drips. Remove any excess oil from the cast iron and place it directly on the upper rack, upside down, over the baking sheet.
Leave it for an hour, then turn off the heat and allow it to cool in the oven. I highly recommend leaving a window open for this, as it’s going to get smoky. When you take it out, it should be black, smooth and ready to use.
Classic Baked Beans Recipe
While the options are nearly endless, start out with something simple while you get the hang of dutch oven cooking. Here’s an uncomplicated recipe to get you started.
Ingredients
3 14.5 oz cans white beans (Great Northern, navy, or other)
½ lb. bacon, cut into lardons
1 yellow onion, diced
2 garlic cloves, minced
¼ C ketchup
¼ C molasses
¼ C apple cider vinegar
1 Tbsp. dry mustard powder
Dash of hot sauce
Salt and pepper, to taste
Directions
First, start a fire and add logs until you have a mound of hot coals to cook with. (Read more detailed cooking-fire building instructions here.) Place a handful of lit charcoal briquettes or glowing red campfire coals underneath the dutch oven.
Allow it to heat for about 5 to 10 minutes before adding the bacon. Let the meat cook until it starts to crisp, then add the onion and garlic. Cook until the onion is soft and starting to brown.
Then, add the beans with their canned liquid, ketchup, molasses, apple cider vinegar, mustard powder, hot sauce, and season with salt and pepper. Cover and add coals or lit charcoal on top of the lid. Let the beans bake for 30 to 45 minutes, stirring occasionally. If too much water boils down, add enough until the beans are just barely covered. Remove the lid and simmer until the liquid has become thick and slightly sticky. Remove the baked beans from heat and serve.
[All photos by Nick Cote]
The post How to Restore (and then Cook on) Cast Iron appeared first on REI Co-op Journal.
The article was originally seen at
Originally posted 2018-03-20 20:14:30.